Installation Steps
The installation and registration using a VMware Appliance is also available as screencast:
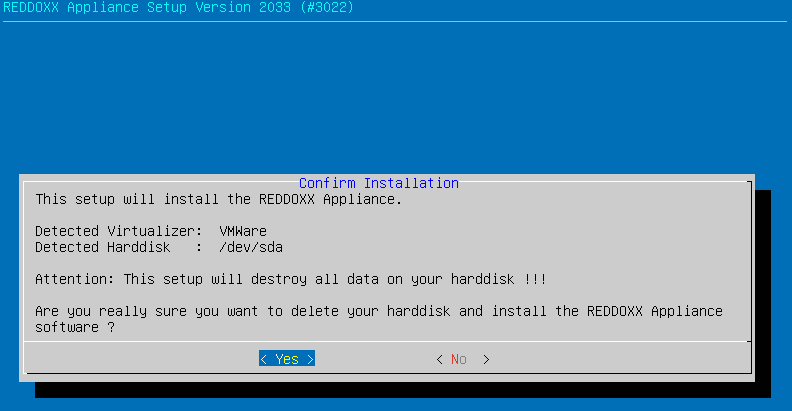
Start the installation after powering on the system with YES
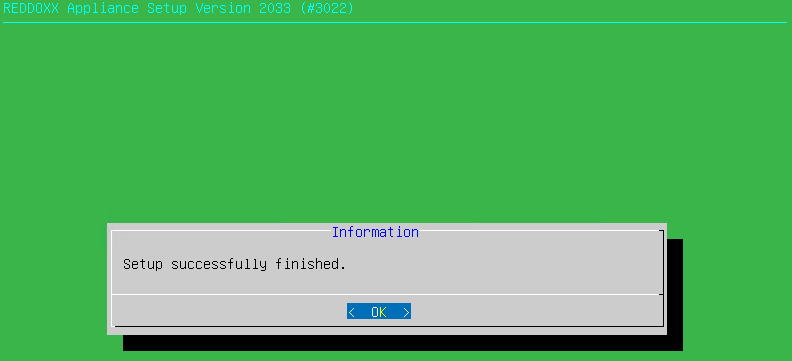
After the installation, confirm the OK with Enter
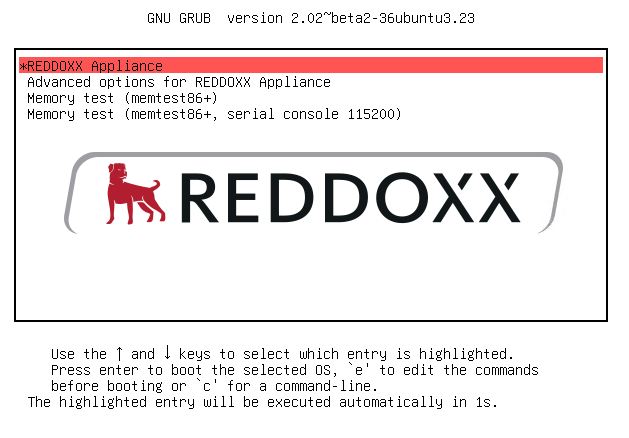
Proceed with a reboot

At the first reboot select "Reddoxx Appliance"
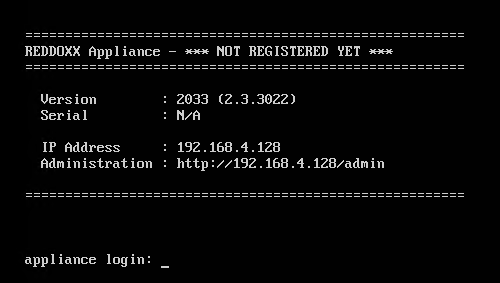
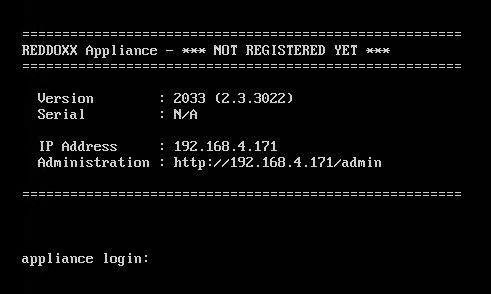
After the first start, the appliance is not registered
Login with Username admin and Password AppAdmin
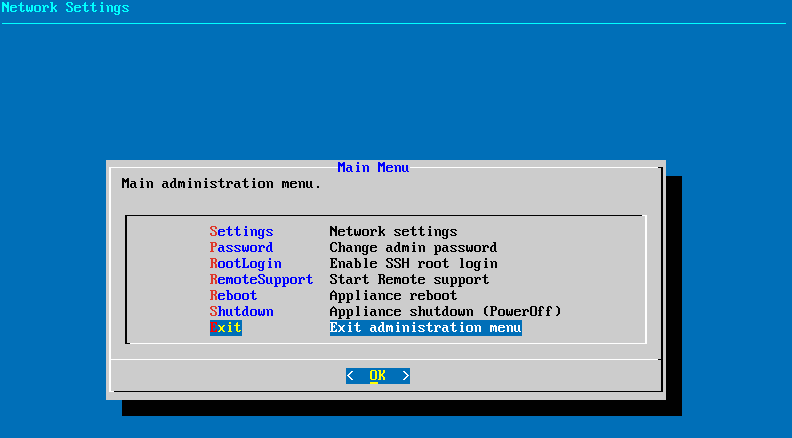
Select "Network Settings" in the admin interface

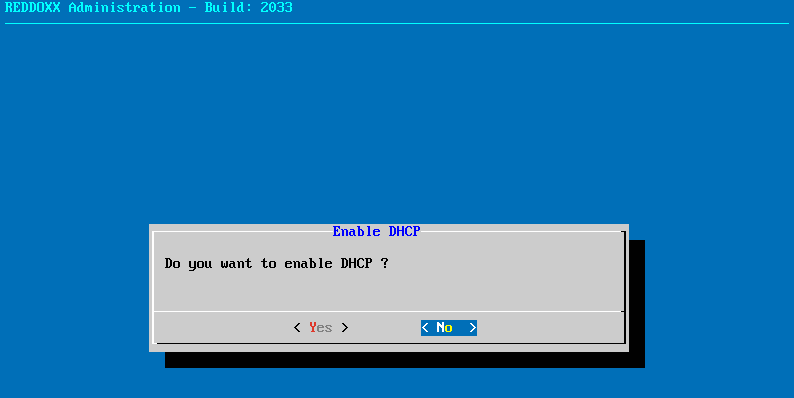
Choose, if Network is to be configured via DHCP ( Yes / No )
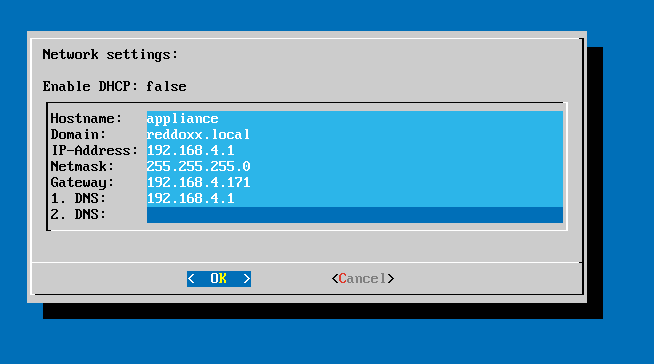
Configure network Settings and confirm with OK
Exit the Administration menu with "Exit the Administration menu" and confirm with OK
Back in the console,the URL is shown where to register the Appliance
Use a browser to connect to the shown URL
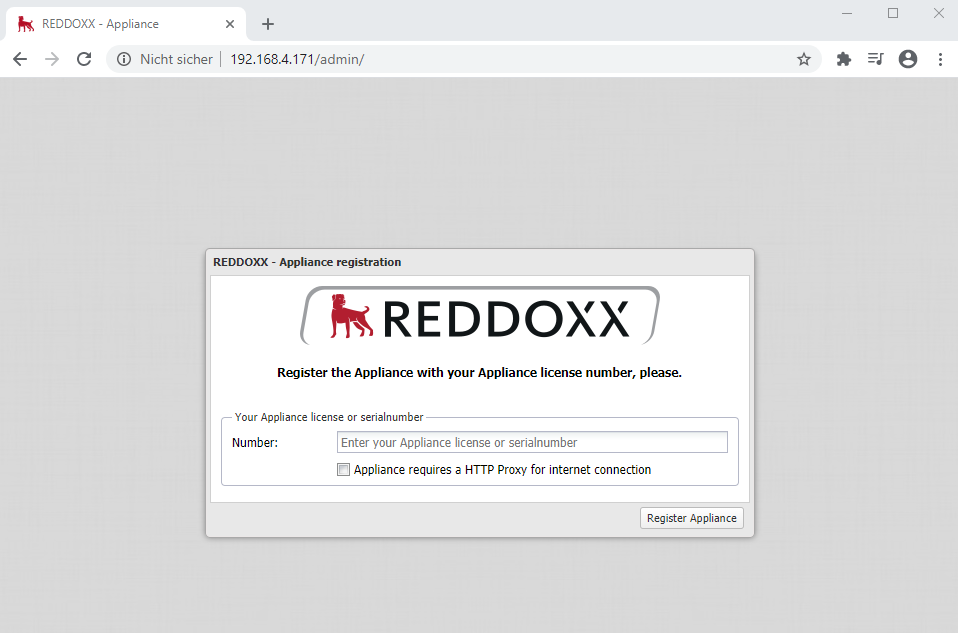
If the Appliance has to use a proxy, select the proxy checkbox and provide the proxy credentials (IP, Port, Username, Password).
The Registration will be done via https, so make sure that the proxy is set to allow https requests.
In order to register an appliance the first time, a license or serialnumber is required.
If performing a migration or installing a already registered appliance, the appliance serialnumber can also be used (this can be found in my.reddoxx.com via Your Products -> REDDOXX Appliance).

An Evaluation license can be created at your my.reddoxx.com Account
The following link can be used to directly create an Evaluation license: EVAL
If you already purchased a license, click on "I already have a license".

Login to the appliance after registration with Login: sf-admin Password: admin and continue to configure your Appliance